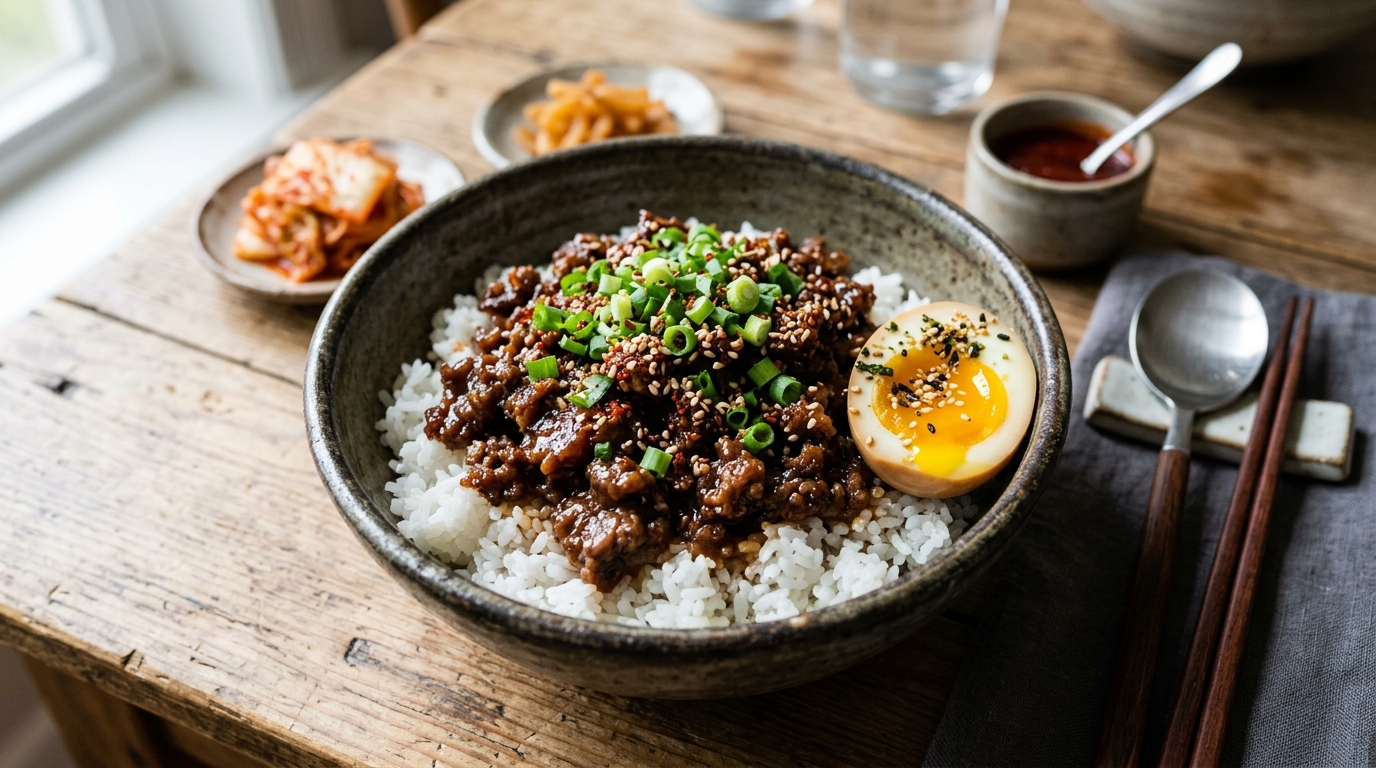
Korean Beef Bowls (Quick 15-Minute Sweet & Savory Skillet)
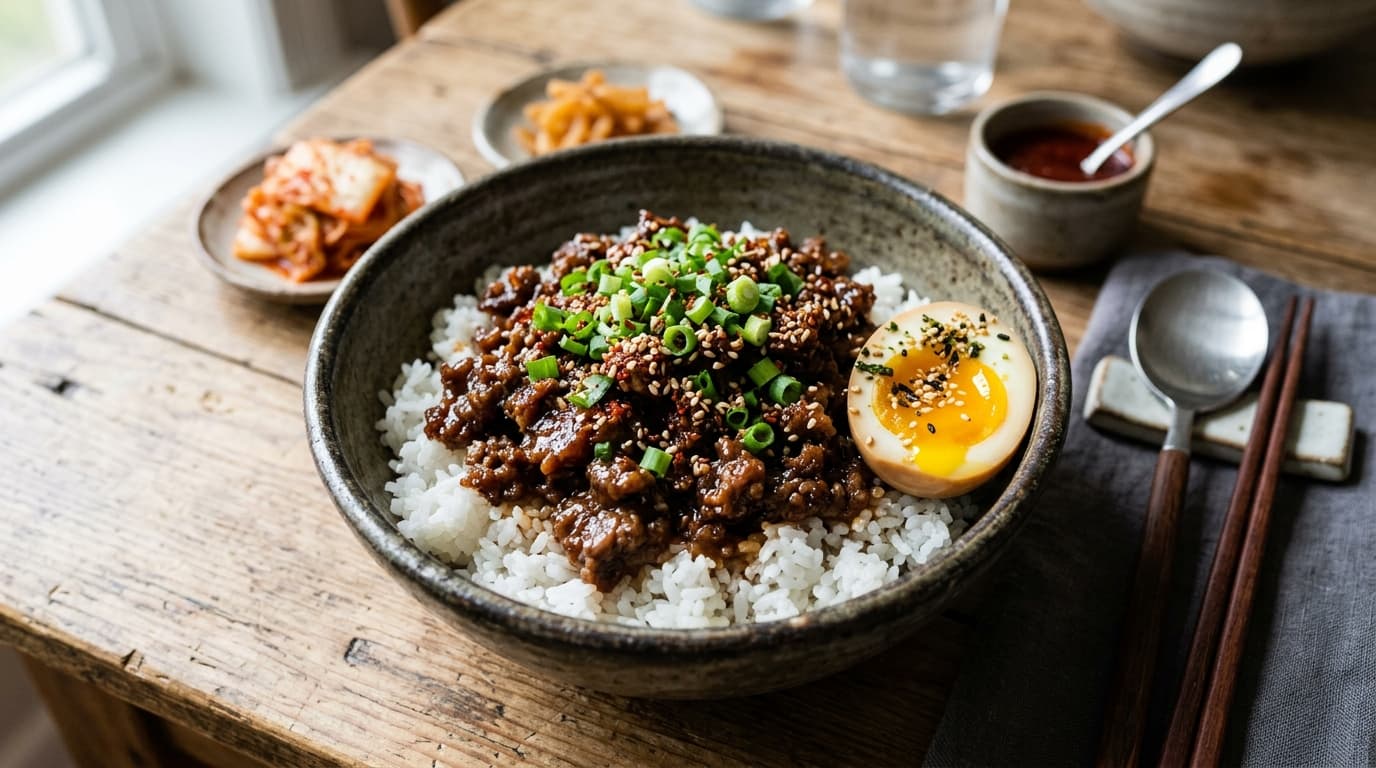
Learn how to make authentic Korean Beef Bowls in just 15 minutes. Lean ground beef cooked in a garlic soy sesame glaze over jasmine rice.
Key Takeaways
- ✓Ready in just 10 mins using straightforward, kitchen-tested technique.
- ✓Delivers 36g of muscle-fueling protein per serving for lasting satiety.
- ✓Portion-balanced at 420 calories per serving with wholesome, unrefined ingredients.
- ✓Masterclass temperature checkpoints ensure maximum tenderness and flavor development.
The Story
Ultimate Korean Beef Bowls (Quick 15-Minute Sweet & Savory Skillet Masterclass)
Executive Summary & Quick Highlights
• Servings: 4 generous portions | Calories: 420 kcal per serving
• Macros: 36g Protein, 38g Carbs, 14g Fat, 1g Dietary Fiber
• Key Culinary Secret: Allowing the ground beef to sear undisturbed in the hot skillet for 3 full minutes before breaking it up creates deep caramelization through the Maillard reaction, unlocking maximum savory umami!
Introduction: The Fast-Track to Authentic Korean BBQ Flavors
Korean Beef Bowls have earned legendary status among home cooks, meal preppers, and fitness enthusiasts worldwide. This dish transforms simple, accessible ground beef into a high-protein culinary masterpiece inspired by classic Korean Bulgogi (불고기).
By combining lean ground beef (90/10) with an aromatic glaze of minced garlic, fresh ginger, low-sodium soy sauce, toasted sesame oil, and a touch of natural sweetness, you achieve an irresistible balance of sweet, salty, nutty, and mildly spicy notes. Best of all, this recipe delivers 36 grams of high-quality protein per portion and goes from pan to table in 15 minutes flat!
Whether you are looking for a rapid weeknight dinner for your family or building clean lunch boxes for weekly meal prep, this comprehensive masterclass guide will cover every technique, ingredient substitution, and pairing secret needed for flawless results every single time.
Detailed Ingredient Breakdown & Culinary Science
Understanding the purpose of each ingredient is essential for perfecting the flavor balance of Korean ground beef:
- Lean Ground Beef (90/10 or 85/15):
- Freshly Minced Garlic & Grated Ginger:
- Low-Sodium Soy Sauce:
- Pure Honey or Brown Sugar:
- Toasted Sesame Oil:
- Crushed Red Pepper Flakes (or Gochugaru):
Step-by-Step Culinary Masterclass
Step 1: Pan Preparation & Initial Browning
Heat a large 12-inch stainless steel or cast-iron skillet over medium-high heat for 2 minutes until hot. Add 1 tablespoon of high-smoke-point oil (avocado or vegetable oil). Add 1.5 lbs of ground beef in a single layer. Let the meat sear undisturbed for 3 minutes to develop a deep brown crust (the Maillard reaction).Step 2: Crumble & Drain
Using a heavy wooden spatula, break the seared beef into bite-sized crumbles. Continue cooking for another 3 to 4 minutes until no pink remains. If excess rendered fat accumulates in the pan, tilt the skillet and spoon out all but 1 tablespoon of fat.Step 3: Infuse Aromatics
Lower heat to medium. Add 4 cloves of finely minced garlic and 1 tablespoon of freshly grated ginger directly into the center of the pan. Saute with the beef for 60 to 90 seconds until intensely fragrant, taking care not to burn the garlic.Step 4: Glaze & Caramelize
In a small glass measuring cup, whisk together 1/3 cup low-sodium soy sauce, 3 tablespoons brown sugar (or honey), and 1/4 teaspoon crushed red pepper flakes. Pour the sauce evenly over the bubbling beef. Simmer for 2 to 3 minutes, stirring continuously, until the sauce reduces into a thick, glossy glaze that clings to every morsel of beef.Step 5: Finishing & Garnish
Remove the skillet from heat. Stir in 1 tablespoon of toasted sesame oil and half of the sliced green onions. Spoon the glossy Korean beef generously over hot bowls of fluffy jasmine rice or cauliflower rice. Garnish with remaining green onions and toasted sesame seeds!Comprehensive Nutritional Breakdown & Macro Matrix
| Metric / Nutrient | Per Serving (Korean Beef + Rice) | Per Serving (Low-Carb Cauliflower Rice) | Daily Value % |
|---|---|---|---|
| Calories | 420 kcal | 290 kcal | 21% |
| Protein | 36g | 35g | 72% |
| Total Fat | 14g | 14g | 18% |
| Saturated Fat | 5g | 5g | 25% |
| Carbohydrates | 38g | 9g | 13% |
| Dietary Fiber | 1g | 4g | 4% |
| Sodium | 580mg | 580mg | 25% |
| Iron | 3.8mg | 3.6mg | 21% |
Recipe Variations & Dietary Adaptations
Storage, Reheating & Meal Prep Guide
- Refrigerator Storage: Store cooked Korean beef in an airtight glass meal prep container in the fridge for up to 4 to 5 days.
- Freezer Friendly: Korean beef freezes exceptionally well! Transfer cooled meat to a freezer-safe bag or container and freeze for up to 3 months. Thaw in the fridge overnight before reheating.
- Reheating Instructions: Reheat in a microwave for 90 seconds, or warm in a skillet over medium heat with a splash of water or beef broth to restore moisture.
Frequently Asked Questions (FAQs)
Q1: Can I use ground turkey or ground chicken instead of beef?
Answer: Absolutely! Ground turkey or ground chicken works wonderfully with this sauce. Because poultry is leaner, add 1 extra teaspoon of sesame oil to keep the meat juicy and flavorful.Q2: What are the best side dish pairings for Korean Beef Bowls?
Answer: Korean Beef Bowls pair traditionally with Kimchi, steamed edamame, pickled cucumbers (Oi Muchim), roasted broccoli, or sesame cucumber salad.Q3: How do I make the beef extra crispy?
Answer: Ensure your skillet is screaming hot before adding the beef, do not overcrowd the pan, and avoid flipping or stirring for the first 3 minutes of cooking.Conclusion
Korean Beef Bowls (Quick 15-Minute Sweet & Savory Skillet)
Learn how to make authentic Korean Beef Bowls in just 15 minutes. Lean ground beef cooked in a garlic soy sesame glaze over jasmine rice.
Macro Nutrition Profile (Per Serving)
Ingredients
Ingredient Substitutions
| Original Ingredient | Healthy Alternative |
|---|---|
| Animal protein | Firm tofu, tempeh, or organic chickpeas |
| Cooking fat | Extra virgin olive oil or grass-fed butter |
Instructions
Pan Preparation & Initial Browning: Heat a large 12-inch stainless steel or cast-iron skillet over medium-high heat for 2 minutes until hot. Add 1 tablespoon of high-smoke-point oil (avocado or vegetable oil). Add 1.5 lbs of ground beef in a single layer. Let the meat sear undisturbed for 3 minutes to develop a deep brown crust (the Maillard reaction).
Crumble & Drain: Using a heavy wooden spatula, break the seared beef into bite-sized crumbles. Continue cooking for another 3 to 4 minutes until no pink remains. If excess rendered fat accumulates in the pan, tilt the skillet and spoon out all but 1 tablespoon of fat.
Infuse Aromatics: Lower heat to medium. Add 4 cloves of finely minced garlic and 1 tablespoon of freshly grated ginger directly into the center of the pan. Saute with the beef for 60 to 90 seconds until intensely fragrant, taking care not to burn the garlic.
Glaze & Caramelize: In a small glass measuring cup, whisk together 1/3 cup low-sodium soy sauce, 3 tablespoons brown sugar (or honey), and 1/4 teaspoon crushed red pepper flakes. Pour the sauce evenly over the bubbling beef. Simmer for 2 to 3 minutes, stirring continuously, until the sauce reduces into a thick, glossy glaze that clings to every morsel of beef.
Finishing & Garnish: Remove the skillet from heat. Stir in 1 tablespoon of toasted sesame oil and half of the sliced green onions. Spoon the glossy Korean beef generously over hot bowls of fluffy jasmine rice or cauliflower rice. Garnish with remaining green onions and toasted sesame seeds!
Tried this recipe?
Let us know how it turned out! Click a star below to leave a review and rate the recipe.
Storage & Freezing Tips
- Refrigerator: Store leftovers in an airtight container for up to 3-4 days.
- Reheating: Heat in a saucepan or skillet on medium heat until hot throughout.
- Freezing: Freeze portions in airtight containers for up to 2 months. Reheat directly from frozen or after thawing.
Frequently Asked Questions
Can this recipe be prepared ahead of time?▼
Yes, this meal is excellent for weekly meal prep. Store components separately and assemble before serving.
Is this recipe gluten-free?▼
All ingredients used are naturally gluten-free. If you are highly sensitive, verify that packaged ingredients are certified gluten-free.
Tried this recipe?
Tag @stewartlucas on Instagram and hashtag it #nutriguide!
You Might Also Like

Stewart Lucas
Nutritionist & Recipe DeveloperStewart Lucas is a nutritionist and recipe developer representing the NutriGuide team. All recipes, nutritional values, and diet protocols published on this site are designed and audited by certified dietitians and clinical nutrition professionals to guarantee absolute accuracy.
Community Reviews
Please log in to leave a review.